
You can also create hashtags for problems (i.e. #diabetes), symptoms (i.e. #headache), triggers (i.e. #weather), procedures (i.e. #dental_restoration), lab tests (i.e. #blood_sugar), health parameters (i.e. #weight), doctors and clinics (i.e. #Dr_Smith).
Hashtags a sorted by category in the left sidebar and you can quickly display all records with needed hashtag by clicking on it.
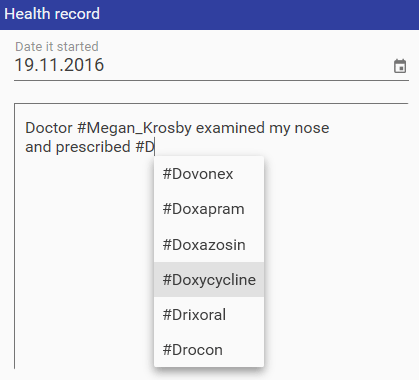
You can add hashtags when you create a new health record. You can simply type hashtag or select it from the list. If you want to add a hashtag, contaning two or more words - use "_" symbol instead of spaces.
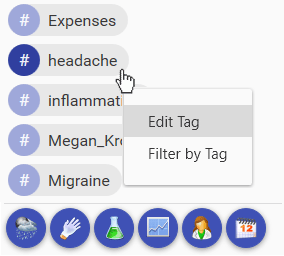
Hashtags can be organized into categories in the left column (i.e. Problems, Symptoms, Medications...). To add hashtag to category - make a right click on it and select Edit Tag. In the opened window you can set the category and add notes.
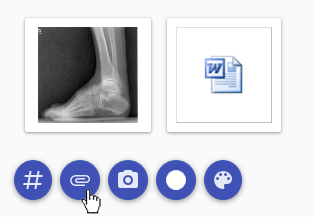
You can attach files to health record by clicking on the "Attach file" icon. The file you attach is not moved anywhere but is just linked to the health record.
When you remove file from the record - you delete only the link, but not file itself.
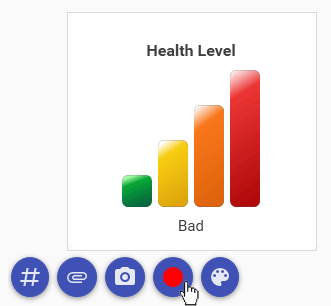
Sometimes it's quite hard to describe how bad is your current health state. In such cases it's suitable to use the visual level indicator to set your health (or pain) level.
To set the health level just click on the "Health level" icon in the Health Record window. The indicator will appear in the Health Journal near the appropriate record.

Sometimes you need to describe where it pains (for example: "on the left, a little below the shoulder closer to the spine..."). In such cases one picture is worth ten thousand words. The PainT tool allows you easily create such picture and attach it to Health record.
Just click the PainT icon in the Health Record, select the needed part of the body and draw with marker where it pains. You can also paint on your photos, flip and rotate them.
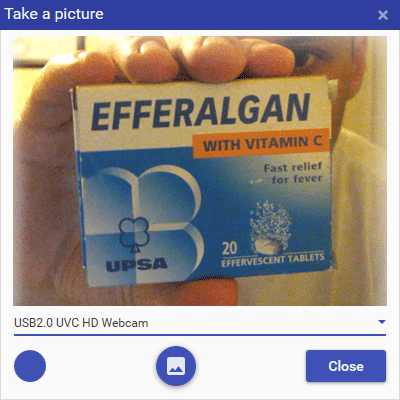
To add a webcam shot - click on the Webcam icon in the record form. Then just click the "Take a shot" button when you are ready.
You can use this feature to photograph your external symptoms, medical documents or medication packages.

If you keep health record for a couple of years, you probably noticed that in certain months the same things happen with your health. For example, in July (during sea-vacation) you often have diarrhea, in October you catch a cold and in January (after the holidays) you have a headache. The Calendar section in Goopatient allows you to find out what health-related problems usually happen in a given month. Thus you'll be able to get ready or even to escape them by changing your lifestyle.
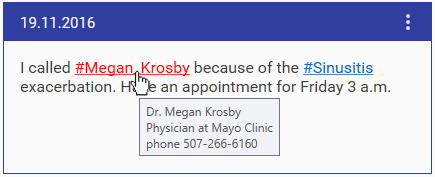
The most convenient way to keep doctor contact in GooPatient is to create a hashtag for this doctor (i.e. #Dr_Smith) and put contact information to the hashtag description. When you roll mouse over this hashtag in the health journal - the contacts will appear as a hint.
In the same way you may want to add medication dosage, procedure guides, etc to hashtag descriptions
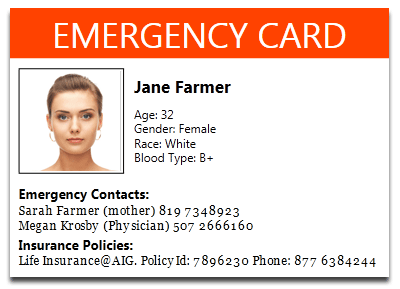
Emergency Card is a small card with your general health information that you can put in your wallet and take with you everywhere. Especially it's needed for people with serious conditions.
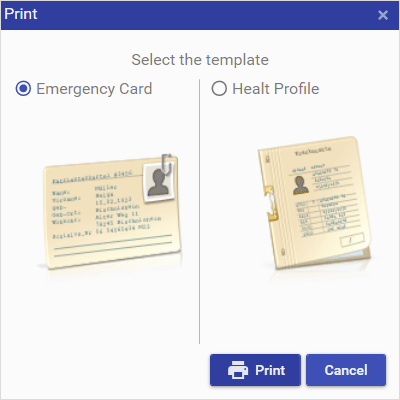
To create an Emergency card - open the Medical card, press the Print button and select the Emergency Card template. After printing - сut and laminate the card.
Health profile is a sheet that you can print and give to your doctor. It contains general information about your health, including age, blood type, conditions, allergies, immunizations, insurance policies, etc. So you don't have to remember all these things when doctor asks you.
To print the Health profile sheet - open the Profile card, press the Print button and select the Health Profile option.
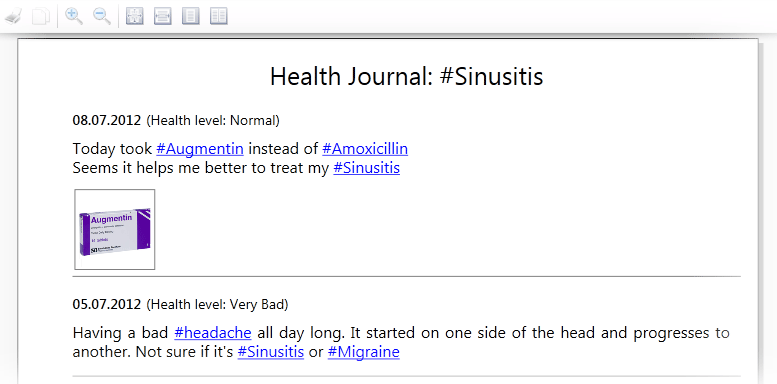
When you come to a doctor, she asks you a million of question about your condition. How and when it strated, what caused it, what symptoms you had, what medications you have taken, etc. Having entered all this data to Goopatient you can easily print the condition history and take it with you to clinic.
To print the condition history - filter the Health Journal by needed hashtag and click the Print button on the upper toolbar.

If you want to create health profiles for your kids, grandparents, pets and other members of your family - just click on the "Create profile" link on the Start Screen. Note that you can create multiple profiles only in the full version.

1. Connect your phone to your computer via USB
2. Find your database (by default - C / Users / [USER] / AppData / Roaming / GooPatient / goopatient.sqlite)
3. Copy the database to your phone: / Android / data / com.NGSE.goopatient / files /
4. You can also copy to the same folder your photos and files if you want to access them on your phone.
5. Launch the mobile app
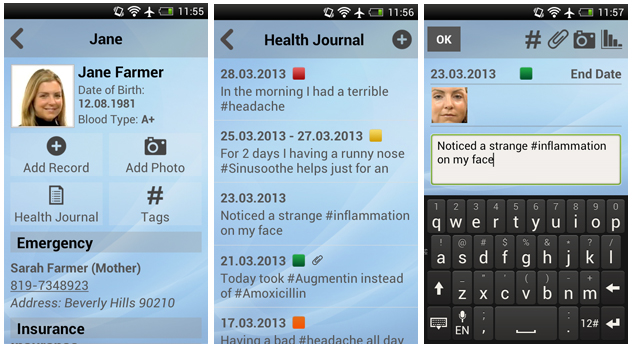
The Mobile version is primarily intended for browsing medical records, but it also allows to add new records to the Health Journal.
You can take photos with your phone and add them to health records, attach files from your phone, set health level and add new hashtags.
You can't edit medical cards (profiles) and manage tags (edit, merge, assign categories).

Both Desktop and Mobile versions use the same database (.sqlite), so to sync the apps, you need to copy this database file from PC to Phone or backward. On a phone the database is located in / Android / data / com.NGSE.goopatient / files / folder, and on PC - in the folder set in the Options.
You can do it via USB or using one of the cloud file storage apps like Dropbox, OneDrive, Google Drive.
If you want to transfer certain files and photos from PC to Phone or backword, you need to copy them to folder / Android / data / com.NGSE.goopatient / files / (on the Phone) or to the folder set in the Options of the desktop version (on PC).